Returning to Exercise Postpartum: Progressions with Movement

I remember my first workout after Benji was born. Stepping on that treadmill was exhilarating and humbling all at the same time. I wanted so badly to move my body as I had pre-pregnancy. But the truth was, my body was different. Everything felt different, even the way I walked, stood, and breathed.
Returning to movement postpartum looks different for everyBODY, but starting slow and mindfully is my universal recommendation. We start with diaphragmatic breathing and connection, then layer on rehab based movements and mobility, awakening and strengthening the muscles to get mama feeling strong and prepared for the everyday tasks of motherhood. We progress. There is no distinct time limit on how long this takes, but over time we add layers. This is the strength training principle of progressive overload. This principle involves continuously increasing the demands on the musculoskeletal system to make progress. Over time our body adapts to a certain amount of resistance or stimulus/challenge. By increasing the load on the body we will be forced to adapt, resulting in strength and muscle improvements.
Why is progressive overload important postpartum?
In the short term it may seem like tackling a workout that leaves our muscles feeling fatigued is a good strategy. But, training is a process and takes time. There must be a measurable and purposeful increase in challenge from week to week and workout to workout. This is what will eventually result in overall healing and strength improvements.The same goes for diastasis recti, which is very common postpartum. In order to heal we must load the tissue over time, while also working on our exercise strategy, alignment, and being mindful of breath. We cannot do heel slides and be in rehab mode forever. Eventually this movement becomes too easy. We must progress, even if we are a little nervous to do so. Eventually we must move from supine position and side lying to seated, quadruped, prone, and standing. This is what life demands of us too! If we don't our body will plateau and we may not make the progress we are searching for.
Exercise Progressions Postpartum
This post is all about how to progress five main movement patterns: squat, hinge/hip, push, pull, and carry. I also added in lunges because those are commonly included in programming and important to progress for single leg movement. Even if mom trained at a high capacity pre-pregnancy, adapting a "let yourself be a beginner again" mindset will aid in your recovery. I encourage all mamas to start at level 1 before progressing and adding layers and intensity. In many cases we have to relearn movement patterns from scratch so we can move more efficiently and without compensations.
Squat
When mama is ready a squat is one of the first functional movements I like to integrate into postpartum programming is a squat. Why? We squat dozens of times a day as new moms: standing up from the couch or toilet, picking up toys or another kiddo, etc. So, practicing different strategies while performing a squat is great and functional.Squatting helps maintain good mobility and movement through the pelvis, and will also help with regaining core stability through the entire core. Think about controlling movement on the way down, inhaling on the way down (pelvic floor relaxes/lengthens) and exhaling to stand (pelvic floor contracts).
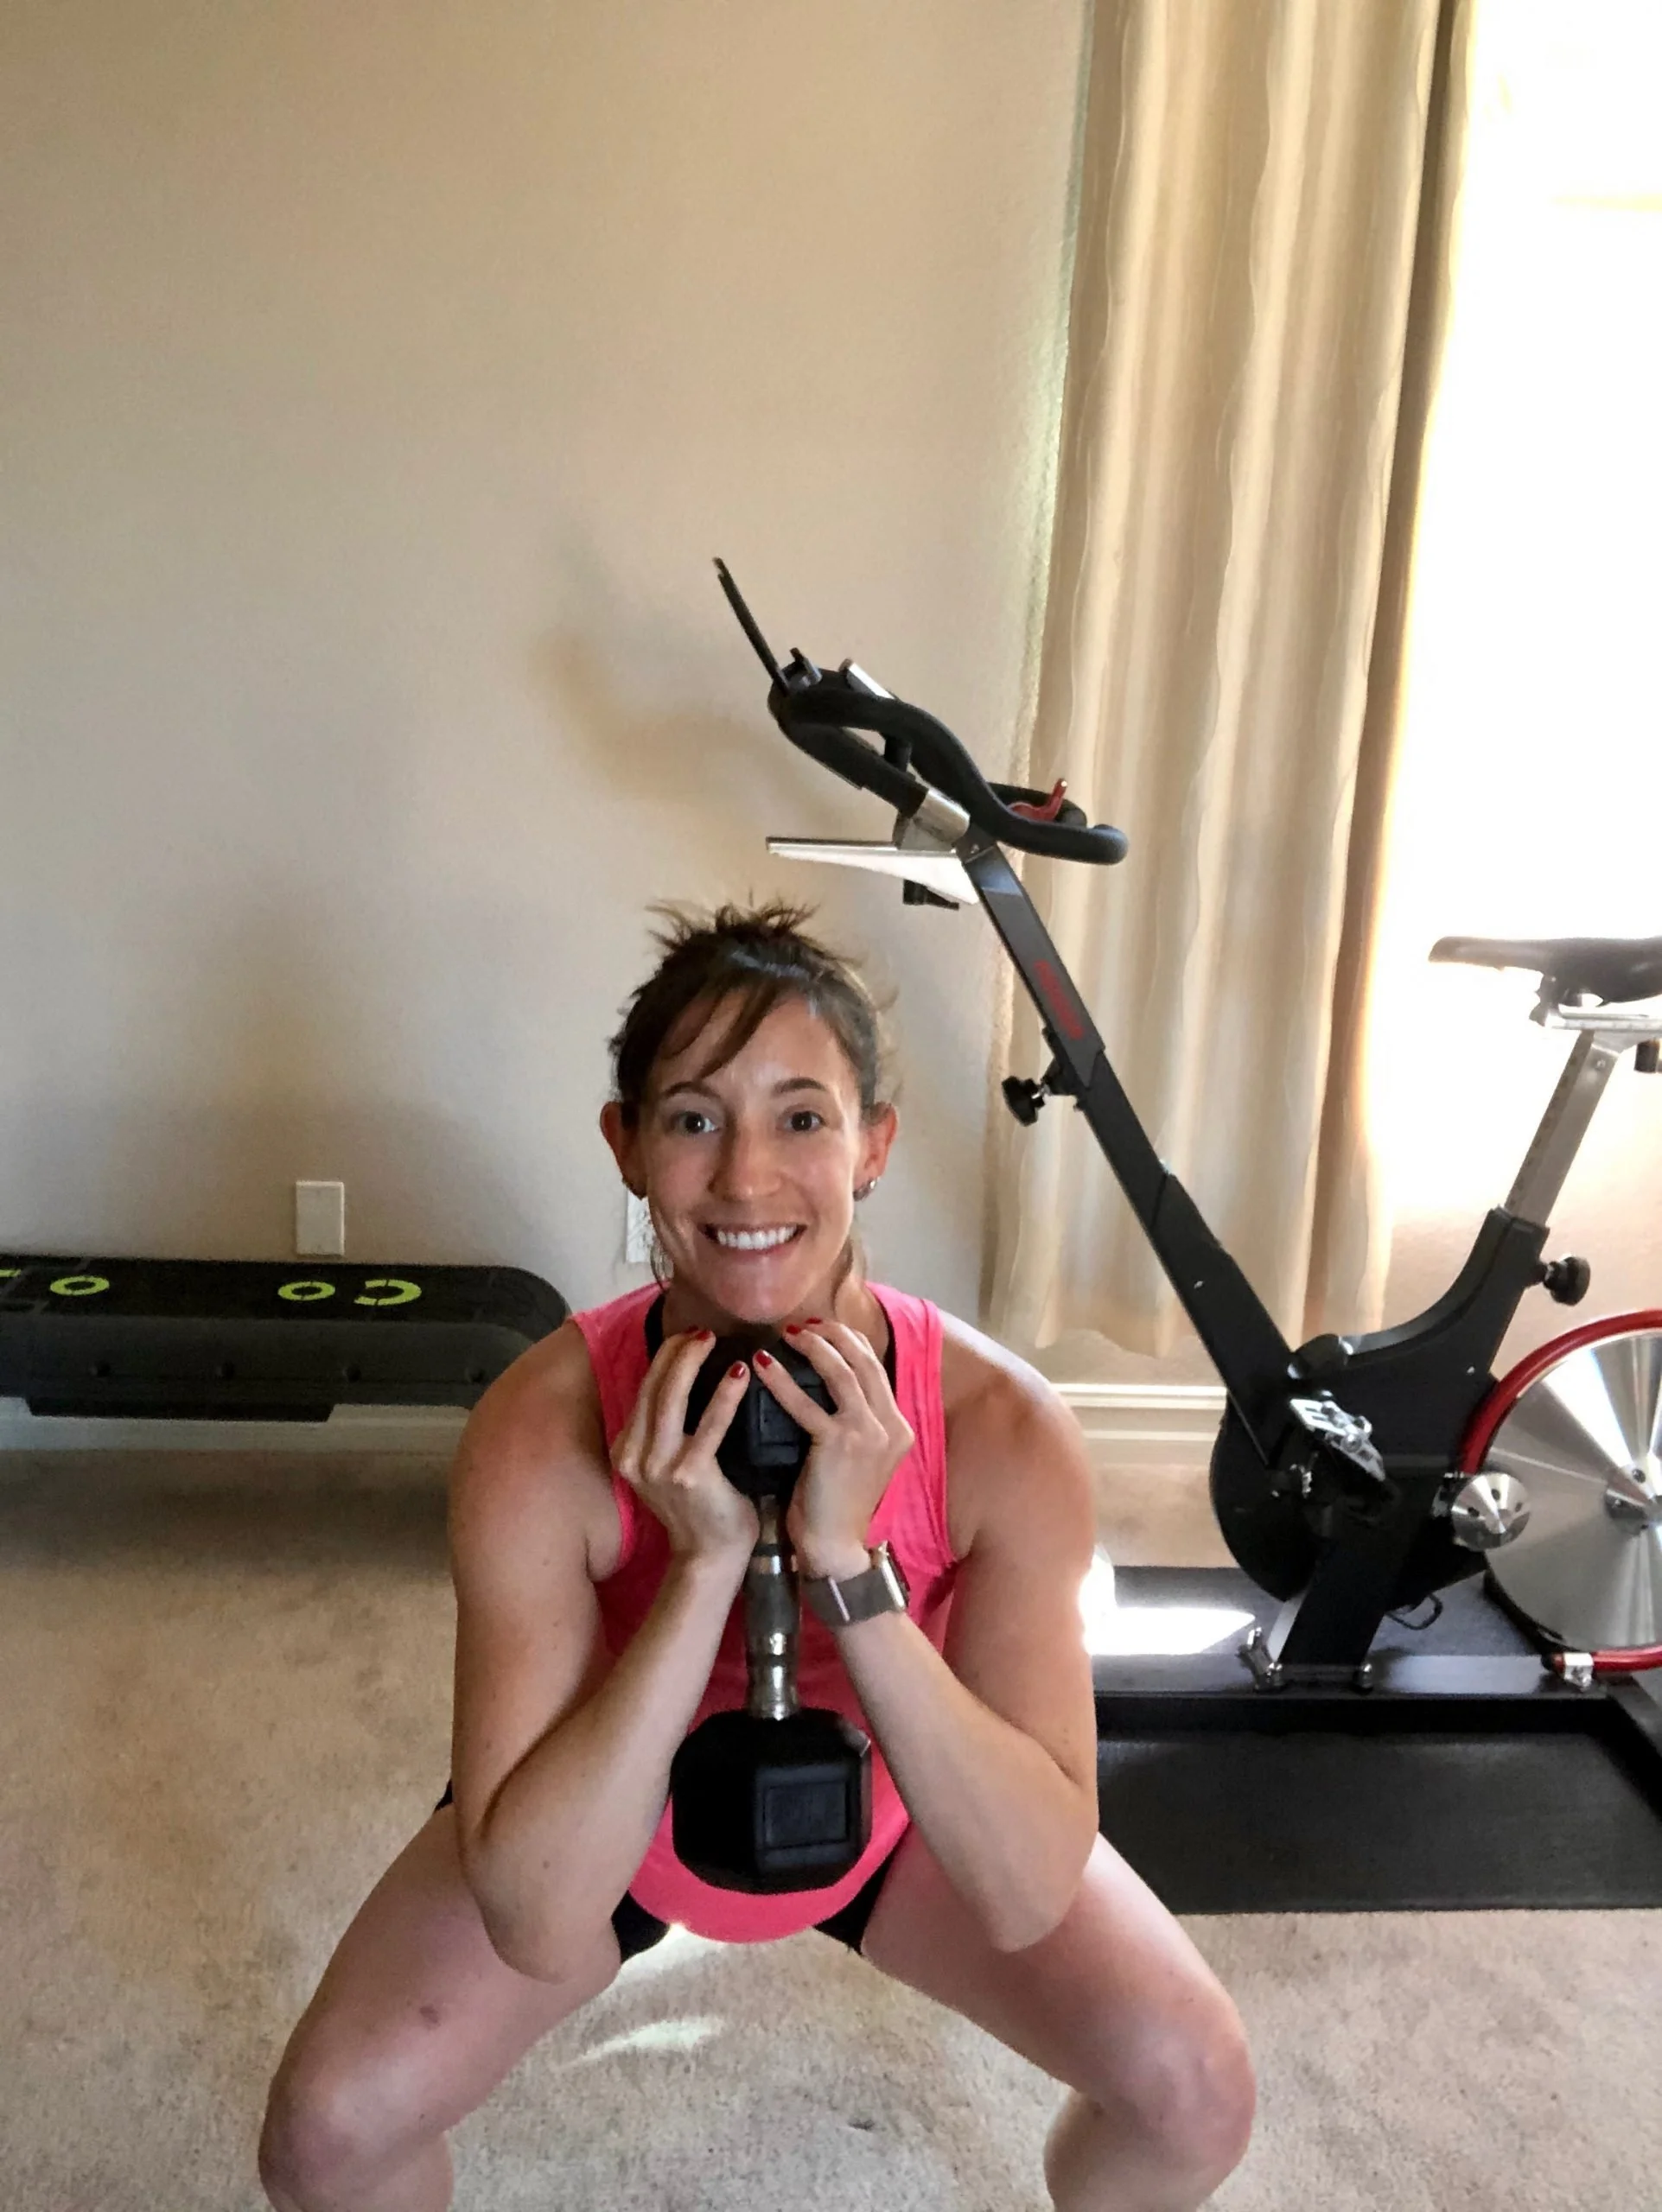
1. Kneeling Squat:Start with bodyweight.
2. Assisted Squat: Hold on to something for support. I often recommend a suspension trainer or bands here. You can also place a box/elevated surface behind you.
3. Bodyweight Box Squat: Ensure you have a box/bench low enough to allow for full range of motion through your squat.
4. Bodyweight Squat / Air Squat: no support behind you. Squatting postpartum helps maintain good mobility and movement through the pelvis, so I like to include a bodyweight variation as soon as mom is ready.
5. Goblet Box Squat: Similar to a traditional box squat, but holding a single dumbbell with both hands in front of your chest (goblet hold grip).
6. Goblet Squat
7. Dumbbell Front Squat: racking dumbbells on your shoulders. I recommend starting a dumbbell squat with a box/support behind you just in case you need it.
8. Single Arm Front Squat: I always include unilateral training in programming. This is a great way to work asymmetries in the body and challenge the core.From here we can play with tempo, rep ranges, equipment (progress to barbell), add bands, etc.
Lunge
Lunges often get a bad rap, but the single-legged movement is important to master. A lunge itself closely mimics movements we make throughout the day (like walking), and isolates one leg at a time. I often sub out a lunge in prenatal programming with any SPD discomfort, but progressing back to a lunge postpartum is something we can do over time.
Lunging patterns require mobility through the hips, knees, ankles, feet, and toes. They can also be done in multiple planes of movement, which adds a little extra balance/stability challenge. A common complaint is knee pain while lunging, which may be due to a trauma/injury. But from personal experience it's often due to form, muscle imbalances, and/or mobility.
While performing a lunge I like to cue and put a large emphasis on glutes. Mamas tend to be a bit more quad dominant, so putting this exercise into the glutes with some minor tweaks in positioning really lights up the backside. If you notice your knee is a little wobbly or caving inward, I recommend starting with the supported lunge, and adding some additional side booty work to build more strength/stability (glute medius).
1. Supported Lunge: a split squat taken with added support. You can hold on to something sturdy, such as a chair or bands/suspension trainer.
2. Split Squat: both front and back leg stay static and do not move.
3. Split Squat - Goblet Hold
4. Split Squat - Dumbbell Hold: I like to master the Goblet hold before we rack dumbbells or place two dumbbells at our sides.
6. Reverse Lunge with weight
8. Forward Lunge with weight From here we can progress to offset (single sided) movements, alternating forward/reverse lunges, bulgarian split squats, walking lunges, and lateral lunges.
The progression may look different, depending on mama's experience and comfort level. I wait a bit longer before progressing to a forward lunge or lateral movements because I find these are the trickiest for a pregnant mama or postpartum mama to perform (discomfort through the pelvis and/or needing a bit more stability & glute strength work first).
Push

A "push" exercise takes weight or resistance away from the body. Think pushing a weight (or a baby) out in front of you or above your head. A push exercise can be categorized as horizontal (out in front) or vertical (above). A vertical pushing exercise helps move the shoulder through its normal range of motion upwards. Not only is the movement super functional, it also helps develop the deltoids and upper back. There's the added challenge of core stability, as the core needs to activate to maintain a neutral spine position. Developing a strong upper back helps support better posture through pregnancy and postpartum.This movement can extremely challenging during this time. It's common to experience an arched chest / rib thrusting. Common reasons for rib thrusting include a poor breathing pattern, lack of shoulder mobility, lack of body awareness, or simply - the weight is too heavy.If mama is consistently thrusting ribs, she is bringing her spine out of neutral as well, decreasing the interaction between the diaphragm and rest of her core canister. If this interaction goes down, so does her ability to protect her spine during loaded movement. Over time she may notice lower back pain, or fall into compensatory movement patterns. If pushing overhead doesn't feel great, doing so with a bit of an incline or at an angle is a great option. Examples incline an incline chest press and landmine press.
Vertical Push/Press

1. Dumbbell / Band Lateral Raise: I like this option for moms who have limited shoulder mobility or find challenge in pressing overhead. This can also be progressed to a front raise.
2. 1-Arm Incline Chest Press: The 1-Arm variation adds a bit of core to the mix as the body works to remain stable through the movement.
3. 2-Arm Incline Chest Press: I like to experiment with grip on both of these variations. Start with standard hand positioning and progress to a close grip variation. Watch for rib thrusting on these as well, a sign that the weight may be a bit too heavy.**The above exercises are often classified as a horizontal push pattern. But, I like to include them as an option. Moving overhead is a challenge for new moms, and something we can work towards with increased mobility and practice.
4. 1-Arm Seated Overhead Press: I love the addition of a pilates ball for the seated overhead press variation. When seated I like to keep an eye on pelvis positioning as well, watching that glutes are not tucking under. A rolled up towel or deflated ball is great for feedback, giving the pelvic floor something to move against on the exhale breath.
5. 2-Arm Seated Overhead PressI love the addition of a pilates ball for seated overhead pressing movements.
6. Seated Alternating Overhead Press. Similar, but we alternate arms for added challenge.
7. Half Kneeling Overhead Press: I love this variation because it also challenges whole body stability (aka CORE). I include half kneeling and tall kneeling before progressing to standing. This is a great option during pregnancy as well.
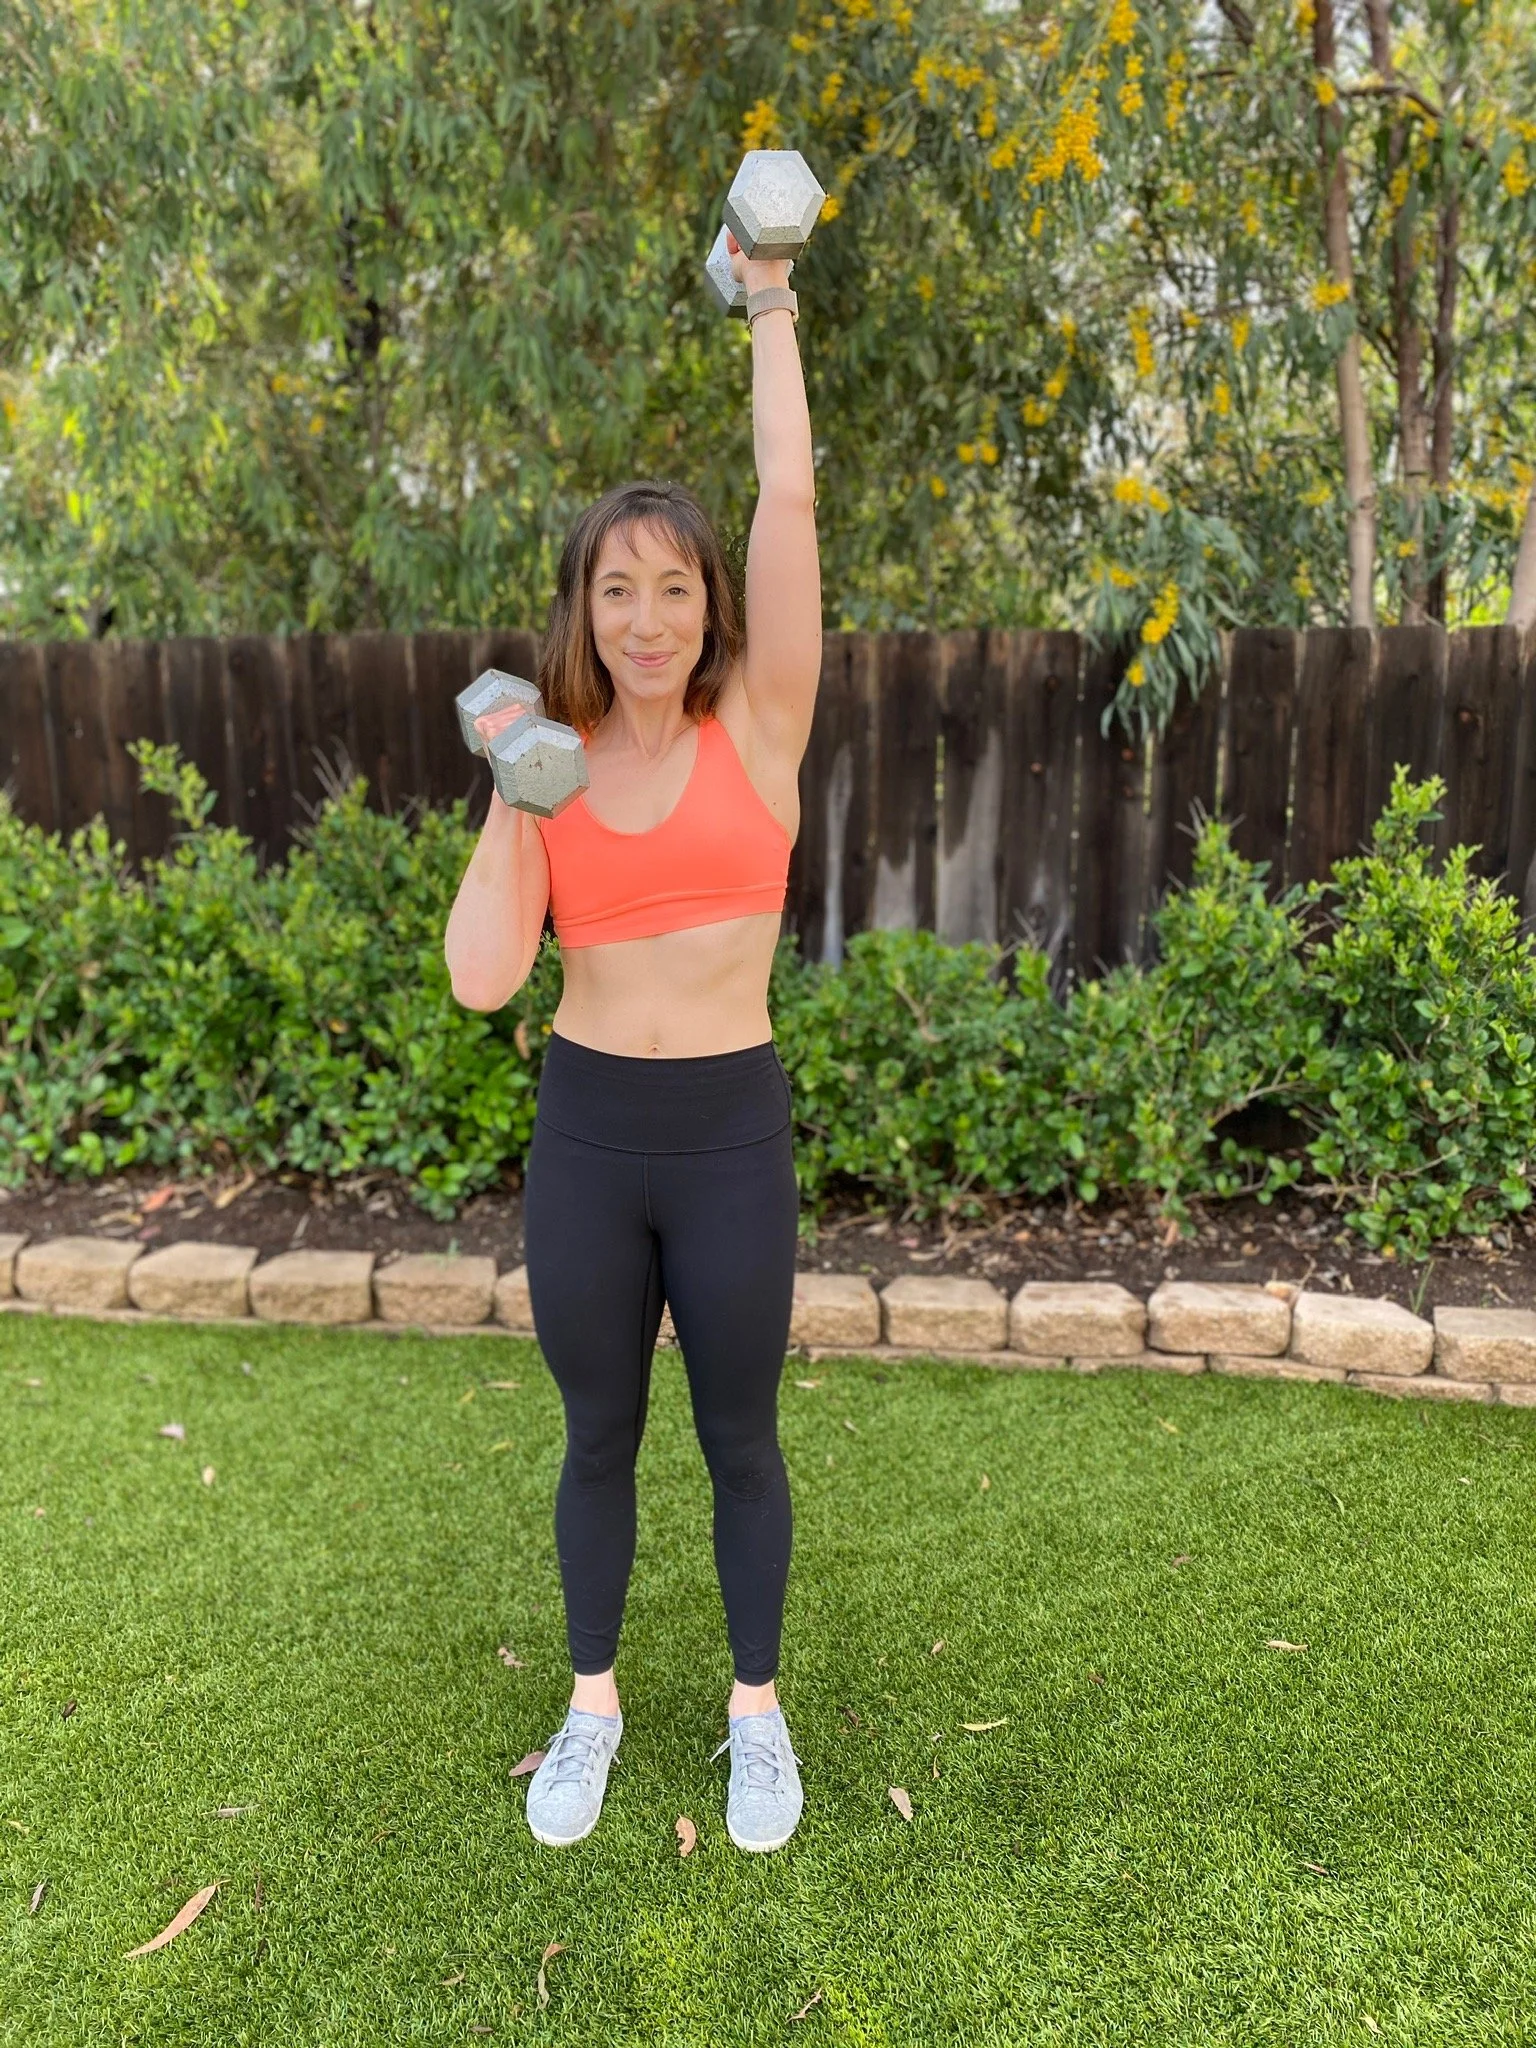
8. 1-Arm Standing Overhead pressFrom here we advance to 2-arm Standing Overhead press with dumbbells and a barbell and then a push press for a bit more power.
Horizontal Push

1.Half Kneeling Anti-Rotation Band/Cable Press: I also love this variation because it's a great stabilization challenge as well.
2.1-Arm Floor Press: Dumbbell in one arm at a time. Also an extra stabilization/core challenge as you work to keep pelvis still through the movement.
3. 2-Arm Floor Press: Option to squeeze a pilates ball between the thighs as you exhale and press upwards. The floor press alleviates any stability/balance issues that may come from being on a narrow bench.
4. 1-Arm Dumbbell Chest Press: the big shift here is hand positioning, as well as the chest press typically being performed on a bench or elevated surface. The floor press gets a little extra tricep and shoulder too. Option to take this on an inclined bench (pictured below).
5. 2-Arm Dumbbell Chest Press:
6. Alternating Dumbbell Chest Press: experimenting with alternating the dumbbell at the top and bottom of the movement.
7. Incline Push Up: continue progressing the push up, adjusting for both incline and hand positioning.
8. Bench Press: incorporating use of a barbellAnother pressing variation I learned from MamasteFit is the Table Top Dumbbell Press + Table Top Dumbbell Press with Marches. Both of these are advanced variations that incorporate a bit more lower body/glutes and stability training.
Pull
Pulling exercises can also be broken down into horizontal and vertical pulling. Horizontal pulling is any exercise that involves moving a weight / resistance towards your torso horizontally from straight out in front of you (think rows). A vertical pulling is any exercise that involves moving a weight / resistance down vertically so that you are pulling from overhead (think lat pull-downs or pull ups).
Vertical Pulling

The first exercise that comes to mind with vertical pulling is typically pull-ups. A pull-up is something we can progress to, but not an exercise I jump into right away. One of the biggest concerns with vertical pulls is coning. Abdominal coning is a pressure management issue and a sign that the exercise may be a big too much for your system...for now.Pulling muscles tend to utilize the rectus abdominis (six pack abs) and anterior abdominals. Engaging the transverse abdominis (TVA) during pulling movements will be important to help maintain core integrity. On the hardest part of the movement (the pull) I cue an exhale breath, drawing the pelvic floor up and in, with the TVA following. If coning cannot be controlled with focused breath and deep core activation, we regress and come back to it a bit later.
1.1-Arm Band/Cable Row: experiment with standing (split stance or hips square towards anchor point), seated, and kneeling positions.
2. 2-Arm Band/Cable RowThe above two exercises are often considered a horizontal pulling exercise. However, I like to get postpartum moms familiar with the rowing exercise in general, should they be new to the movement. As we progress towards pulling from overhead without rib flare or coning we are also simultaneously working on finding neutral alignment and deep core activation.
4. Facepull: Wrap a resistance band around your feet or secured around something sturdy (like a pole) standing or seated. On the exhale breath pull the band directly towards your face, keeping your elbows higher than your forearms, until your knuckles face your cheeks. Lower your arms back down and repeat.
5. Seated Lat Pulldown (close grip): The Lat pulldown helps us really begin the mind-body connection to eventually progress to a pull up, reinforcing the same movement. One of the biggest cues I reinforce is to bring the shoulder blades down, as if you were tucking them in your back pockets. This helps to create space between your ears and shoulders.
6. Seated Cable Pulldown (wide grip): Set Up is similar to the banded lat pull down. Slight lean back at the hips. Avoid wanting to thrust the ribs upwards.
7. Band Underhand Lat PulldownAround here I might also introduce a dumbbell pullover if dumbbells are available.
8. Ground Assisted Pull UpFrom here we continue adding layers to our pull-up: assisted scapular pull-ups, assisted neutral grip + assisted pull-ups, an active hang, negatives, and more. One of my goals postpartum is to perform an unassisted pull-up.
Horizontal Pulling
The first thing that often comes to mind with horizontal pulling are rows. The horizontal pull focuses on building the musculature of the back. Strengthening of the back helps maintain optimal posture to counter the shift of gravity as the belly grows. Postpartum, a strong back will help mamas hold, feed, and carry baby without compensations in postural habits. Compensations tend to lead towards pain and discomfort, which we want to avoid.
Seated Band/Cable Row: this can also be done via an attachment/cable or with a band looped around the feet.
1-Arm Band/Cable Row: this can be progressed to half-kneeling and tall-kneeling position
Inverted Row: the inverted row works great if you have rings or a suspension trainer available. This keeps mom a big more upright while working the horizontal pulling motion. We can play with feet positioning to increase core challenge. You can advance this to a 1-Arm Inverted Row as well.
Elevated Single Arm Row: using an incline surface for support as we bring dumbbells into the rowing movement.
Supported Single Arm Dumbbell Row: opposite leg remains on the bench for support. Focus on bringing the dumbbell back, with elbow coming towards the rib cage. We don't want the upper arm to travel beyond the torso, or it puts the shoulder in a less optimal position. We also think about pulling towards our hips. This is a great breakdown.
Dumbbell Bent Over Row: We advance to using two dumbbells while in a hinged position.
Hinge
A hinge/hip dominant pattern is so important for mamas to master. Think about all the times we bend over to pick something up, from toys to a 35-pound toddler. So often we round our spine rather than hinge at the hips in activities of daily life. By mastering hip dominant exercises we'll build strength in the glutes and hamstrings and protect our low back.
Deadlift Progression
Rockbacks: The rockback is a great foundational movement to help learn the hinge pattern. You're simply sitting back into your hips being mindful of how your body is moving through space. The hardest part is avoiding tucking the pelvis under or arching the low back.
Kneeling Deadlift: Sitting on the heels extend the hips as you exhale and press the band outwards with the arms. Avoid rounding in the shoulders and pushing the hips too far forward.
Hinge Practice- Standing: I like to review this with every client, even if a mama has mastered the hinge pattern pre-pregnancy and during pregnancy. By placing a PVC pipe or broom on your back we focus on three points of contact while also keeping a neutral spine.
Banded Hinge / Good Morning: Once we've mastered the hip hinge, the band can add a bit of resistance and challenge.
Kettlebell Deadlift: Now we can start adding a bit of weight. I like to start with the Kettlebell deadlift before advancing to dumbbells. A great option is to start the lift from an elevated surface. Movement is primarily at the hips, but you still get to practice lifting something up from the ground. This may be a good option during pregnancy as well. If kettlebells are not available and/or you feel confident with the kettlebell variation, move on to dumbbells.
Banded Pull Through: With the hip hinge down, we can now add a bit more power to the mix. A banded pull through is also great prep for a hip thrust.
Single-Leg Romanian Deadlift: A full single-leg variation is quite challenging, so I like to first start with a staggered stance with non working leg in a kickstand position. Another great option is to use a suspension trainer for support.
From here we can progress to a sumo deadlift, conventional deadlift, kettlebell swing (power), and use of barbells.
Hip Dominant (Bridge + Hip Thrust)
I have broken out two hip dominant exercises separately from the deadlift, but all three exercises fall within the same hip dominant exercise category. I may include one of each in a lower body focused training session. A glute bridge is a great place to start postpartum to bring awareness to the glutes and sync breath with movement. A glute bridge and hip thrust will also give you the most bang for your buck when it comes to overall glute activation and strength.
Glute Bridge + Mini Band: Place resistance band above the knees and actively press into the band for feedback.
Marching Glute Bridges I consider a marching glute bridge to be one of the toughest variations. The goal here is to really keep the pelvis stable and keep the movement in the glutes versus shifting to the low back. If the core/glutes are not quite ready you may feel this movement entirely in the low back.
Hip Thrust: The hip thrust is a go-to movement throughout pregnancy as well.
1-Legged Hip Thrust: Option to add the band as well.
1-Legged Feet Elevated Glute Bridge: can also add a mini band here for added resistance.
There are so many variations of the hip thrust. Once you've mastered the movement with dumbbells you can move on to a barbell.
Carry
Last but not least, carries! This exercise comes up for me ALL the time in everyday life. Think about carrying a carseat or heavy groceries. A carry focuses on anti-lateral flexion, meaning we are trying to prevent our side body from bending from the pull of the weight (flexing). Carries are a total body movement, and we can vary the exercise by incorporating different equipment, weight, duration of the hold, grip, and loading style.
1-Arm Suitcase Carry (aka carseat carry): One Dumbbell or Kettlebell held at your side. The goal is to not let that weight pull you to the side (flexion) and keep your hips square. Remember to breathe!
1-Arm Racked Carry:Weight is now racked on your shoulder in a racked position.
2-Arm Suitcase Carry
2-Arm Racked Carry: Two weights racked up by your shoulders.
Racked + Suitcase Carry
Goblet Carry: Also known as "poopy diaper carry." The farther the weight is held in front of you the more challenging for your core.
1-Arm Overhead Carry: I find the overhead carry to be the most challenging. There's shoulder mobility, core strength and control, and experience with overhead pressing (we have to get the weight up after all).
2-Arm Overhead Carry
We can continue to progress this exercise with the position of the weight and equipment selection.Exercise progression is not one size fits all. But, these are some ideas to get you started progressing movements over time postpartum. A well balanced program will include pushing, pulling, hinging, squatting, and carrying in some form, along with accessory/isolation exercises, unilateral training, and core specific training (although everything is core training!).Interested in learning more about training postpartum? I'd love to connect. Feel good mama!
xoxo,
Erica